🛠 How to Install Your Indoor Privacy Panel: A Step-by-Step Guide
When it comes to installing your CraftivaArt indoor privacy panel, we understand that each space is different—whether you're working with drywall, glass partitions, open floor plans, or rental units. That’s why we offer five versatile installation attachments, allowing you to choose the method that best suits your needs.
Below is a detailed guide to help you successfully install your panel using the attachment you selected during checkout.

🔧 Option 1: U-Brackets (Wall-Mounted Installation)
Best for: Permanent wall mounting with a sleek, clean look.
Included: 4 U-brackets per panel, screws.
How it Works:
U-brackets are small rectangular metal pieces that grip the top and bottom edges of your panel to secure it flush against a wall.
Installation Instructions:
- Mark Placement: Hold the panel against your wall where you want to install it. Use a level to ensure it's vertically straight. Mark the top corners and bottom corners with a pencil.
- Position Brackets: Place two U-brackets near the top and two near the bottom of the panel (one on each side). Center them along the panel’s edge.
- Pre-Drill Holes: Use a drill to create pilot holes where the bracket screws will go. This helps prevent wall damage and ensures accurate installation.
- Mount Brackets: Secure the brackets into the wall using the screws provided. Then, gently slide the panel into the U-brackets.
- Tighten if Needed: Some customers choose to apply a small screw through the side of the bracket into the panel for extra hold, but this is optional.
Pro Tip: For drywall surfaces, use anchors to prevent the brackets from loosening over time.
🔧 Option 2: Hinges (Folding Room Divider)
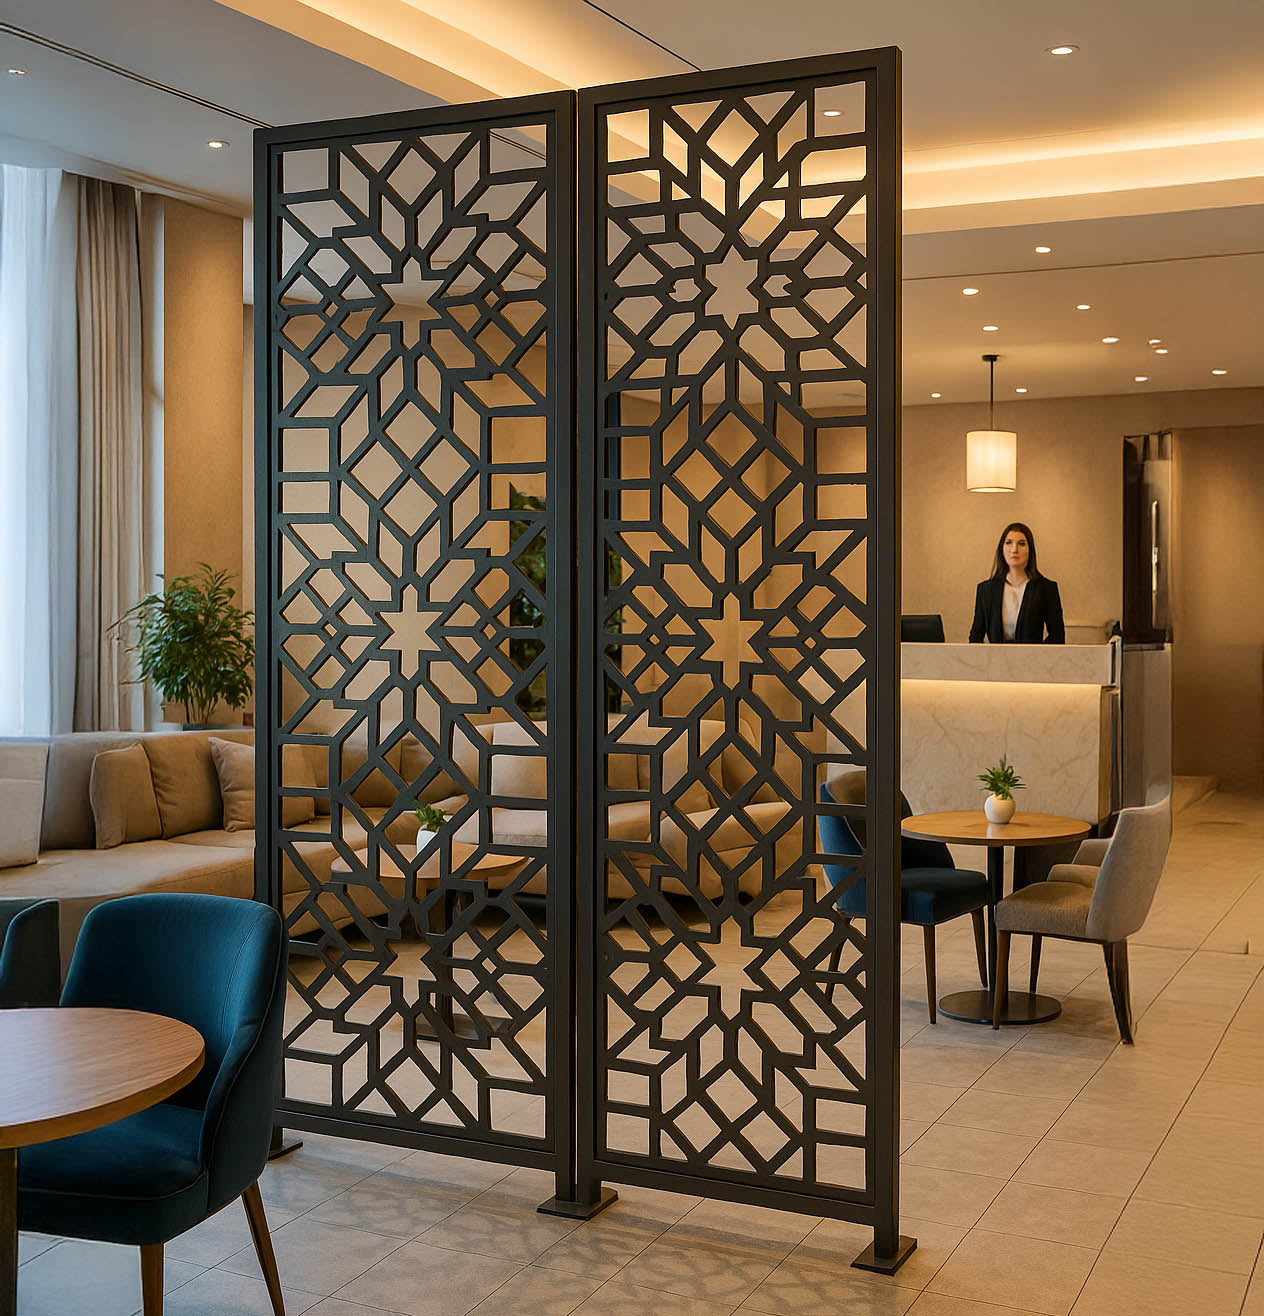
Best for: Flexible, freestanding room dividers or folding screens.
Included: Panels are pre-hinged and delivered ready to use.
How it Works:
Hinged panels are ideal for creating movable room dividers that can be easily repositioned or folded flat for storage. At CraftivaArt, your panels are delivered with hinges already installed, so no assembly is needed.
Installation Instructions:
- Unpack Panels Carefully: Remove the hinged panels from their packaging and inspect for any shipping damage.
- Choose Your Location: Decide where you’d like to place your divider—this can be between furniture, across a room opening, or as a backdrop.
- Set Up the Panels: Stand the panels upright and gently unfold them in a zigzag or accordion shape for stability. The pre-installed hinges allow smooth movement.
- Adjust Angle for Stability: You can adjust the angle between each panel to achieve the desired level of support and visual coverage.
Pro Tip: Place the divider on a flat surface for best balance. For added support, panels can be leaned slightly or secured with optional hardware.
🔧 Option 3: I-Bars (Top or Bottom Channel Mounting)
Best for: Ceiling-to-floor mounting or adding a track-style installation.
Included: I-bar brackets, screws.
How it Works:
I-bars are channels that the panel sits into—either at the top, bottom, or both. This gives the appearance of the panel floating in a frame.
Installation Instructions:
- Install Bottom Track (Optional): Place the bottom I-bar along the floor where the panel will sit. Secure it with screws.
- Install Top Track: Align and fix the top I-bar to the ceiling using screws and anchors.
- Insert Panel: Slide the panel into the top bar first, then gently drop it into the bottom I-bar.
- Adjust if Needed: Make sure the panel is centered and snugly fit within both bars.
Pro Tip: Use both top and bottom I-bars for maximum stability.
🔧 Option 4: Free-Standing Legs
Best for: Temporary setups, rented spaces, or movable room dividers.
Included: 2 flat base legs per panel, screws.
How it Works:
Free-standing legs are attached to the bottom of each panel, allowing them to stand independently without wall or ceiling support.
Installation Instructions:
- Align Legs: Place each leg near the bottom corners of the panel.
- Secure with Screws: Use the pre-drilled holes or mark and drill holes to attach the legs securely to the panel.
- Stand the Panel Up: Carefully lift the panel and set it on the ground. Make sure it's stable and level.
- Check Stability: Place the panel on a flat surface and adjust as needed to avoid wobbling.
Pro Tip: Add felt pads to the bottom of each leg to protect floors and allow easy repositioning.
🔧 Option 5: Hooks & Rings (Hanging Installation)
Best for: Ceiling installations or hanging from rods/rails.
Included: 2 hooks and rings per panel.
How it Works:
This method allows you to hang panels like a curtain or art piece, giving a floating, modern look without permanent mounting.
Installation Instructions:
- Install Ceiling Hooks: Mark the locations for your ceiling hooks. Make sure they align with the rings on your panel. Use wall anchors for drywall.
- Attach Rings to Panel: If not pre-installed, screw or fasten the rings to the top of your panel.
- Hang Panel: Slip the rings over the ceiling hooks or onto a rod. Make sure the panel hangs evenly.
Pro Tip: This option is perfect for renters or spaces where wall mounting is not allowed.
🧰 Choosing the Right Mounting Option
| Attachment Type | Best For | Permanency |
| U-Brackets | Wall-mounting panels | Permanent |
| Hinges | Folding screens or dividers | Semi-permanent |
| I-Bars | Ceiling-to-floor installs | Permanent |
| Free-Standing Legs | Temporary or movable screens | Non-permanent |
| Hooks & Rings | Hanging from ceiling or rods | Non-permanent |
🔎 Need Help Deciding?
Still unsure which option is right for your space?
📩 Reach out to our team at CraftivaArt, and we’ll recommend the perfect mounting system for your specific project.
Blog posts
Backyard Privacy Ideas for Luxury Homes in the USA
Create privacy that looks intentional, not improvised. This guide shares...
🛠 How to Install Your Indoor Privacy Panel: A Step-by-Step Guide
Installing your indoor privacy panel is easier than you think....
Creative Ways to Use Room Divider Screens in Small Apartments
Living in a small apartment doesn’t mean sacrificing style or...


