How to Install Your Craftiva Rotating Wood Slat Divider – A Step-by-Step Guide
Now that you’ve received your Craftiva Rotating Wood Slat Divider, it's time to install it and bring your design vision to life. Whether you're using it to create visual separation in an open-plan space, add privacy to a shared room, or introduce a modern design element, this guide will walk you through the installation process step by step.

Installing a rotating wood slat divider is easier than many people expect. With a few basic tools and careful alignment, the divider can be installed in a short amount of time.
There are two main installation methods depending on the style of divider you choose:
• Installation with base
• Installation without base (using templates and metal plates)
Below is a simple step-by-step guide for both options.
🧰 Tools You May Need
Make sure to have these tools ready before you begin:
| Tool | Purpose |
| Measuring Tape | Verifying spacing and placement |
| Level (24” or longer) | Ensuring each slat is installed vertically |
| Pencil or Chalk Line | Marking guide lines on the floor and ceiling |
| Power Drill & Drill Bits | Securing the base |
| Screws & Anchors | (If installing into drywall or concrete surfaces) |
| Vacuum or Broom | To clean floor before placement |
📐 How to Calculate the Number of Slats
If you haven’t already, here’s a quick way to confirm the number of slats you need:
- Measure the total width of the area where the divider will be installed (in inches)
- Divide by 4" (the width + spacing of each slat)
- Round down to the nearest whole number
Example: 100" ÷ 4" = 25 → You need 25 slats
If you’re unsure, you can always call (437) 328-3350 or email craftivaart@gmail.com for assistance.
🛠 Method 1: Rotating Wood Slat Divider With Base

This method uses a top base and bottom base to hold the slats. It provides strong support and is the most common installation style for floor-to-ceiling dividers.
Step 1 – Align the Top and Bottom Base
Start by preparing the installation area.
Clean the ceiling and floor, then measure and mark where the top base and bottom base will be installed. Make sure the top and bottom positions line up perfectly so the slats will be straight.
Taking a few extra minutes here helps avoid alignment issues later.
Step 2 – Install the Top Base
Hold the top base against the ceiling and make sure it is level.
Once the position is correct, drill pilot holes through the base and into the ceiling structure. Then secure the base with screws.
This base will hold the top rods of the rotating slats.
Step 3 – Install the Bottom Base
Next, place the bottom base directly below the top base.
Check the alignment carefully so the slats will remain vertical. Drill pilot holes into the floor and secure the base with screws.
Once both bases are installed, the structure for the divider is ready.
Step 4 – Insert the Wood Slats
Now you can start installing the slats.
Insert each slat between the top and bottom bases. The longer rod goes into the top base, while the shorter rod fits into the bottom base.
Continue placing the slats one by one, making sure they stay evenly spaced and straight.
Once finished, the slats will rotate smoothly so you can adjust privacy and light.
🛠 Method 2: Rotating Wood Slat Divider Without Base

This option creates a cleaner, more minimal look because the slats appear to connect directly between the floor and ceiling.
Instead of bases, this method uses metal plates and alignment templates.
Step 1 – Align the Templates
Start by cleaning the ceiling and floor surfaces.
Place the top and bottom templates where the divider will be installed. Carefully measure to make sure both templates line up vertically.
You can use temporary adhesive tape to hold the template in place while marking positions.
Step 2 – Install the Metal Plates
Once the positions are marked, place the metal plates in the designated spots.
Secure them with screws into the ceiling and floor. These plates will hold the rods that allow the slats to rotate.
Step 3 – Drill the Holes
Remove the template and drill holes where each metal plate was marked.
These holes create space for the rotating rods inside the slats.
Step 4 – Install the Slats
Insert the wood slats between the ceiling and floor plates.
Just like the base system, the longer rod goes into the ceiling plate and the shorter rod goes into the floor plate.
Make sure the slats are evenly spaced and vertically aligned.
💡 Styling and Usage Tips
Your Craftiva divider is more than functional—it’s also a statement piece. Here’s how to make the most of it:
- Angle the slats slightly open to create a visually dynamic, airy effect
- Use as a privacy screen in shared bedrooms, offices, or studios
- Divide an open concept living/dining area while keeping natural light flowing
- Place in front of large windows for a wood-filtered sunlight effect
🧼 Maintenance Tips
Your slats are crafted from premium Red Oak, built to last for years with simple care:
- Dust regularly with a microfiber cloth
- For deeper cleaning, wipe gently with a damp cloth (no harsh chemicals)
- Avoid excessive moisture
- Re-oil or refinish after several years if exposed to sunlight or high traffic
🧑🔧 Need Help?
If you have any questions during installation—or want to double-check your layout before securing anything—don’t hesitate to reach out.
📧 Email: sales@craftivaart.com
📞 Call or Text: 437-328-3350
Installing your Craftiva Rotating Wood Slat Divider is a rewarding DIY project that adds a custom-built look to any space. Whether you’ve gone with the freestanding base or built-in floor-to-ceiling style, the result is a stylish, functional divider tailored to your room and needs.
Take your time, follow each step carefully, and enjoy the transformation as your space evolves—one slat at a time.
Blog posts
 September 19, 2025
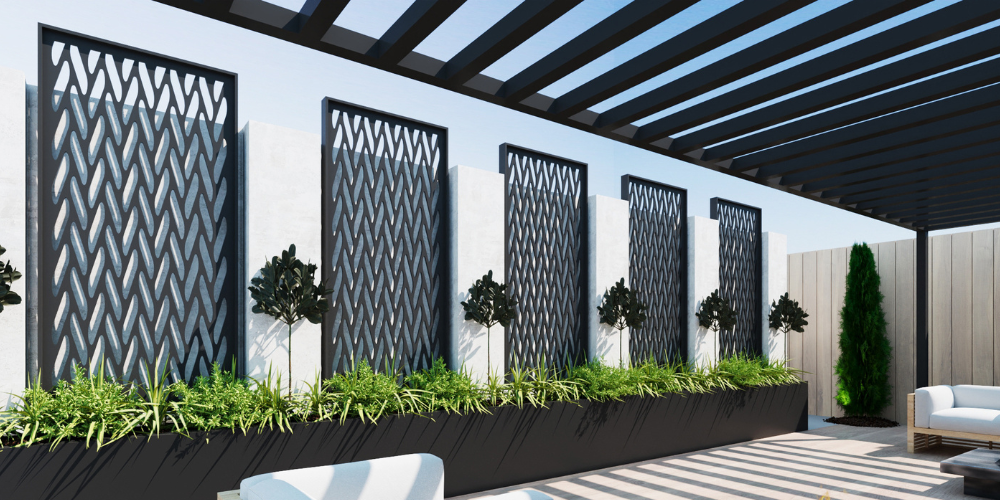
Backyard Privacy Ideas for Luxury Homes in the USA
Create privacy that looks intentional, not improvised. This guide shares...

 August 07, 2025
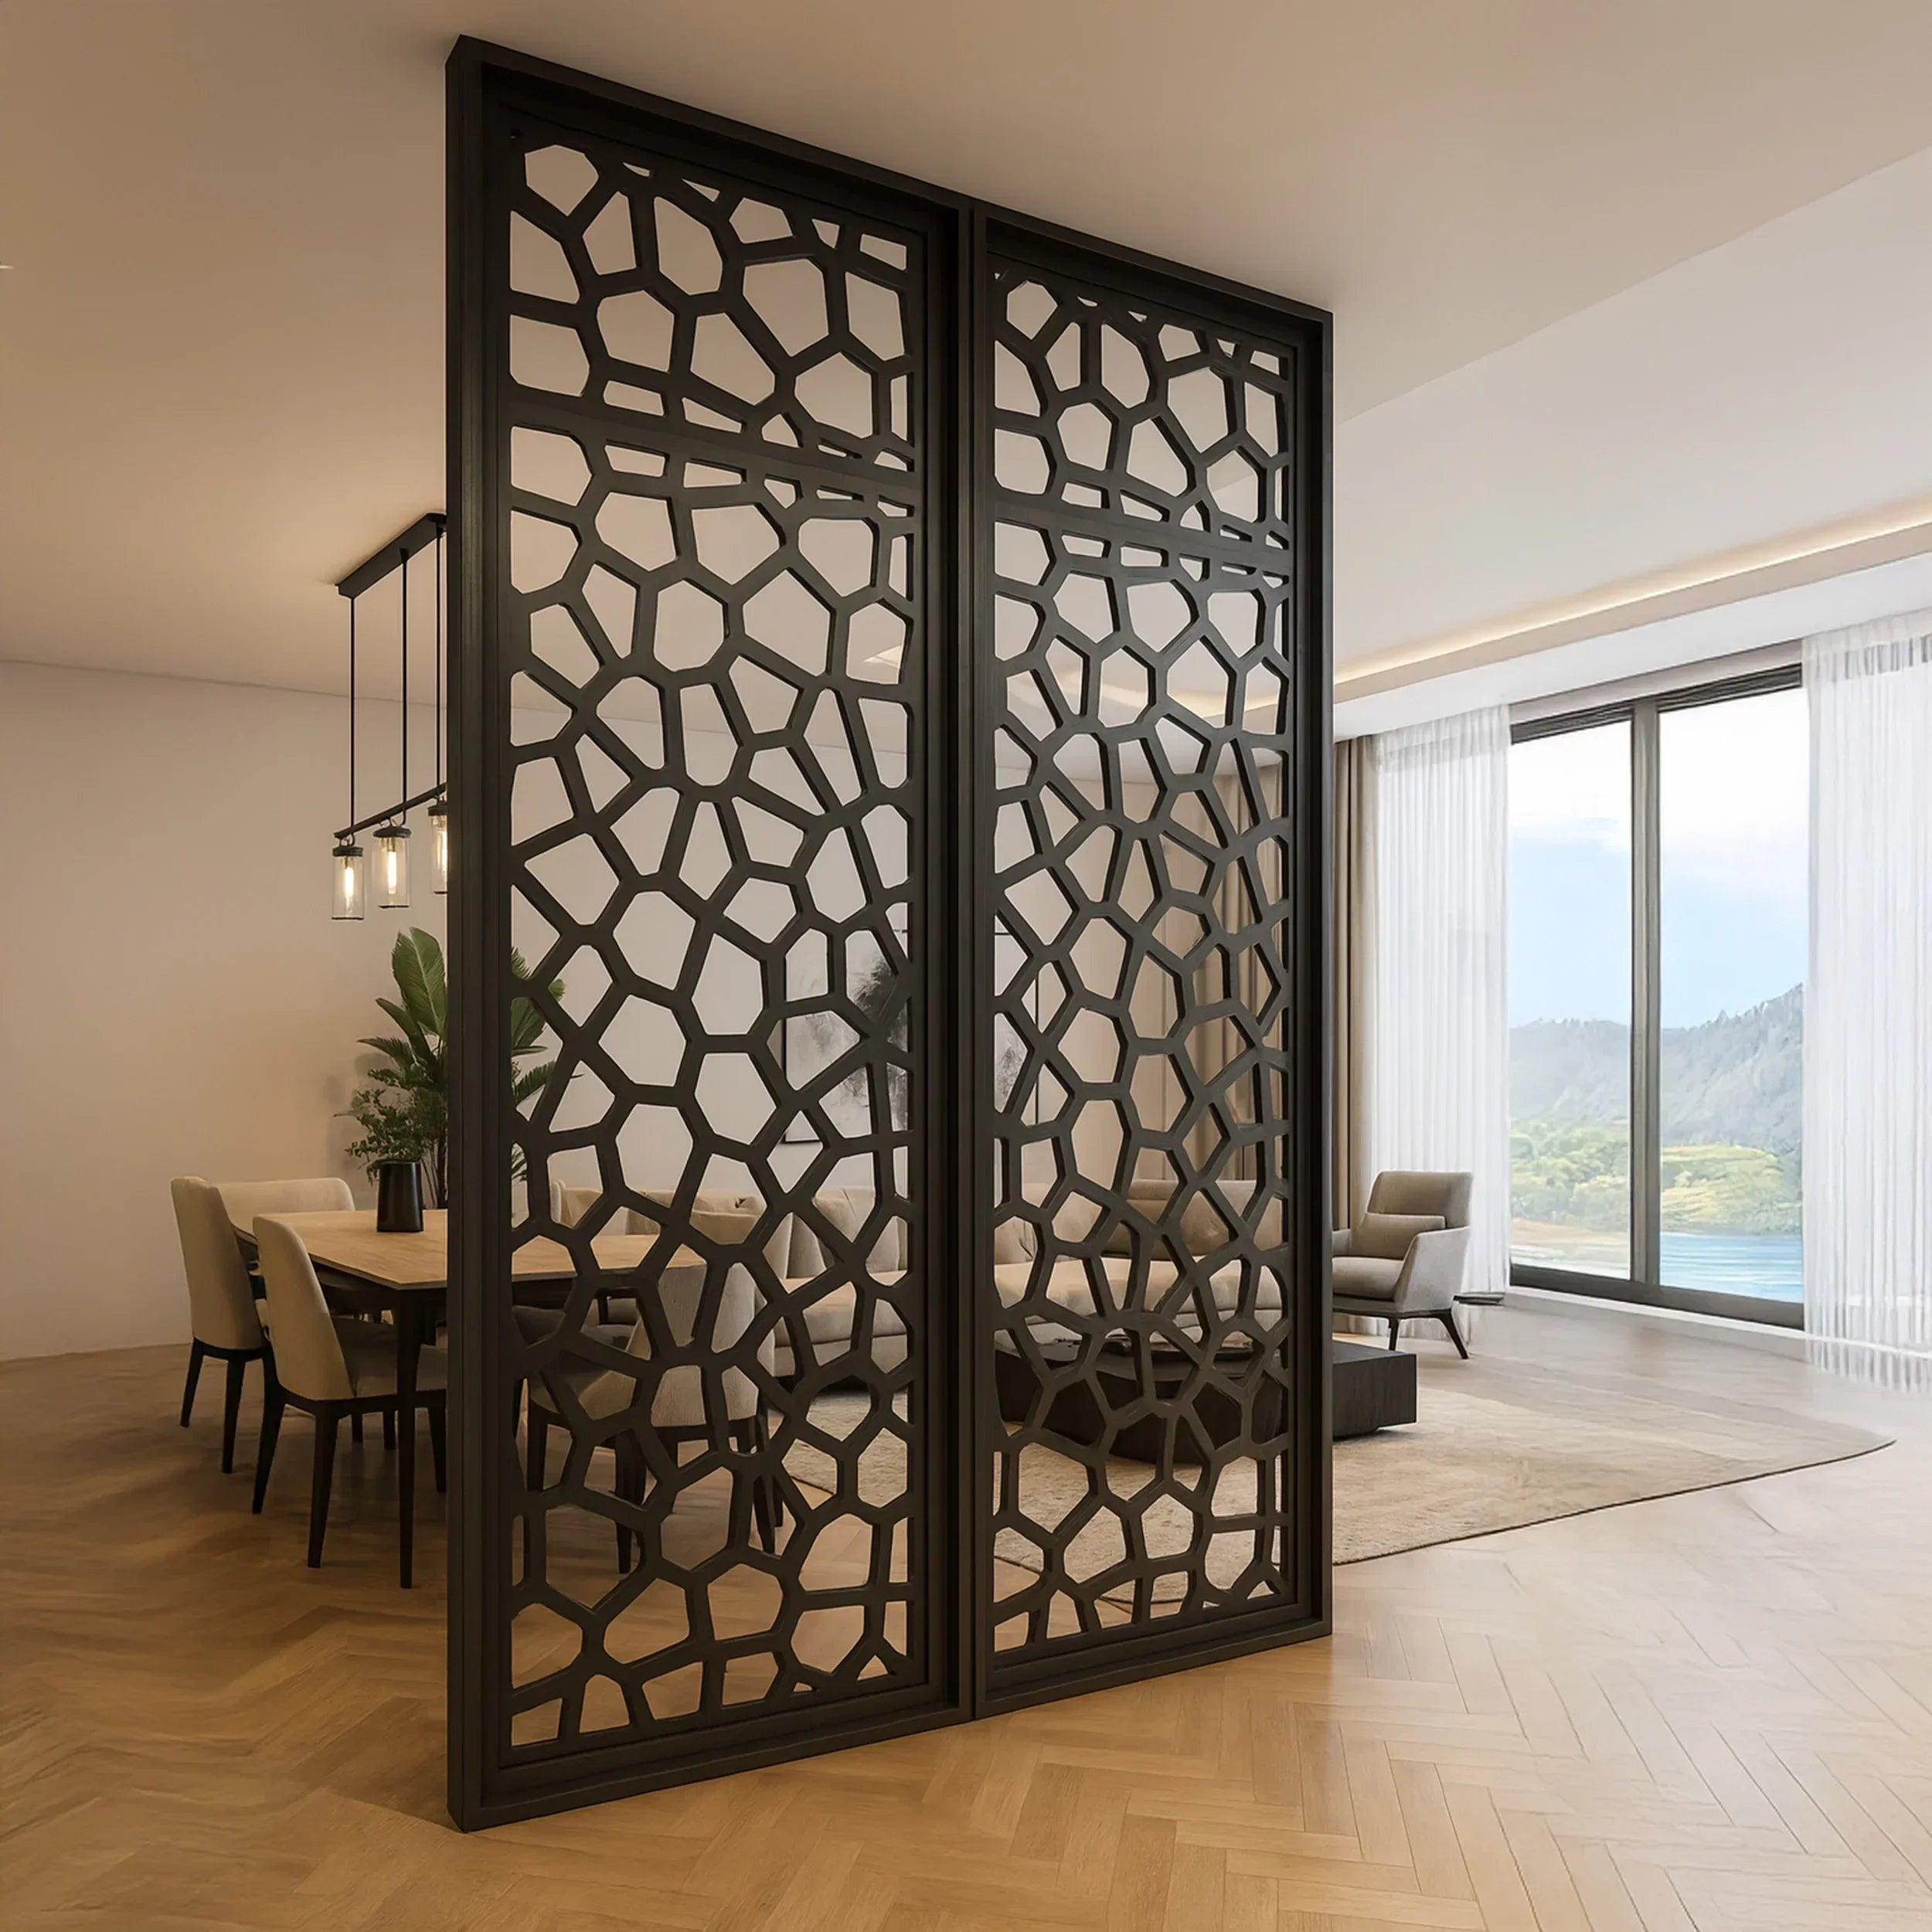
🛠 How to Install Your Indoor Privacy Panel: A Step-by-Step Guide
Installing your indoor privacy panel is easier than you think....
 July 17, 2025
Creative Ways to Use Room Divider Screens in Small Apartments
Living in a small apartment doesn’t mean sacrificing style or...